 knacksnews
A Step-by-Step Guide to Creating a Split Screen Video with Movavi
Advertisement
Video editing can seem complicated, especially when the final product involves special effects like a split screen. However, with user-friendly tools like Movavi, you can effortlessly add a split screen effect to your videos, creating dynamic content that grabs attention. Whether you’re a budding video editor, content creator, or simply want to enhance your storytelling skills, this guide will walk you through the process of making a split screen video step by step.
What Is a Split Screen Video?
A split screen video is a creative technique where two or more video clips play simultaneously on one screen. Instead of switching back and forth between clips, a split screen allows viewers to experience multiple perspectives or scenes at once.
For example:
- Show a conversation between two characters in real-time.
- Display a tutorial on one side while the finished result plays on the other.
- Contrast “before” and “after” shots for dramatic effect.
Why Choose Movavi for Split Screen Editing?
Movavi is an intuitive video editing software suitable for beginners and advanced users alike. Its clean interface and extensive features make tasks such as applying split screen effects seamless. Here’s why Movavi is perfect for this:
- Ease of Use: You don’t need to be a professional editor. The drag-and-drop functionality makes editing straightforward.
- Versatility: Movavi supports various video formats and offers a range of layouts for your split screen.
- Quick Export Options: Finished projects can be exported in high resolution and across multiple formats.
- Affordable: Movavi provides an affordable alternative to more complex editing tools, with plenty of features to explore.
How to Create a Split Screen Video Using Movavi
Below is a step-by-step guide to help you create a split screen video using Movavi. Whether you're making a YouTube video, social media post, or a creative project, this process will guide you from start to finish.
Step 1. Download and Install Movavi Video Editor
First, download and install Movavi Video Editor on your device. The software is available for both Windows and macOS.
- Go to the Movavi website.
- Select the version suited for your system (Windows or macOS).
- Follow the installation instructions to set it up.
Once installed, open the program to begin creating your video.
Step 2. Import Your Video Clips
You’ll need to import the videos you want to use for your split screen. Movavi allows simple imports, so you can drag and drop your files directly into the software.
- Click on "Add Files" in the main menu.
- Select the clips you want to work with and upload them.
- Your videos will now appear in the media bin.
Step 3. Arrange Clips on the Timeline
After uploading the clips, you need to add them to the timeline, which is where the real editing begins.
- Drag each clip from the media bin onto the timeline.
- Place them in the desired order.
Pro Tip: Make sure your clips are trimmed to the desired length before proceeding to the next step for better synchronization.
Step 4. Apply the Split Screen Effect
This is where the magic begins! Movavi provides an in-built split screen tool that allows you to divide your video into sections.
- Select one of your video clips on the timeline.
- Right-click and choose "Crop and Rotate" to adjust the framing as needed.
- Add another clip and use the Picture-in-Picture tool for placement.
- Movavi offers pre-designed split screen layouts (e.g., vertical, horizontal). Choose the format that works for your video.
Step 5. Adjust Layout and Preview
Movavi lets you customize how the split screen appears by resizing and repositioning the video clips.
- Use the drag-and-drop controls to resize each clip until you achieve a balanced look.
- Add borders or adjust the aspect ratio to refine the visuals.
Click the Play button at any point to preview your progress and ensure everything looks seamless.
Step 6. Add Final Touches
Enhance your video with additional elements to make it even more engaging.
- Music and Sound Effects: Drag audio files into the timeline for a complete audiovisual experience.
- Text Overlays: Add captions or titles for context.
- Color Grading: Adjust brightness, contrast, and other settings to ensure all the clips align visually.
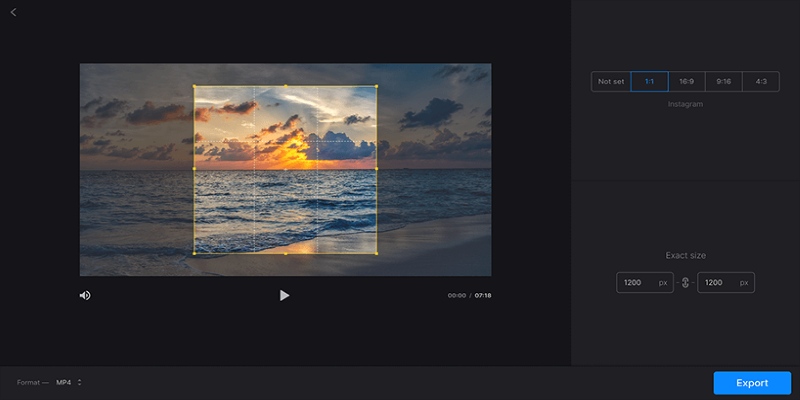
Step 7. Export Your Split Screen Video
Satisfied with your masterpiece? It’s time to save and share it.
- Click on the "Export" button at the bottom right.
- Choose your desired format (e.g., MP4, AVI, or MOV).
- Select your resolution. If sharing on platforms like YouTube or Instagram, ensure it matches their recommended settings.
- Name your project and hit "Start" to export.
Your split screen video is now ready to impress your audience!
Pro Tips for Stunning Split Screen Videos
- Keep it Balanced: Try not to overcrowd the screen with too many clips. Two or three video feeds work best for clarity.
- Sync Your Clips: Ensure actions in each window are synchronized to maintain viewer engagement.
- Use Contrasting Scenes: Highlight contrasts like old vs. new, process vs. result, or different perspectives to evoke curiosity and interest.
- Experiment with Layouts: Movavi offers multiple layouts; don’t hesitate to experiment and find the one that suits your content.
- Use Titles and Text: Add titles or text to your clips to provide context and guide the viewer’s attention.
- Incorporate Background Music: Choose background music that complements the mood of your video and enhances the viewing experience.
Final Thoughts
Split screen videos are a fantastic way to add depth and creativity to your projects, and Movavi’s user-friendly interface makes achieving this effect not only simple but also enjoyable. Whether you’re crafting a corporate presentation, sharing a travel vlog, or showcasing a unique comparison, Movavi equips you with the tools to make it happen. Start exploring the possibilities today by downloading Movavi and experimenting with your own split screen projects.
On this page
What Is a Split Screen Video? For example: Why Choose Movavi for Split Screen Editing? How to Create a Split Screen Video Using Movavi Step 1. Download and Install Movavi Video Editor Step 2. Import Your Video Clips Step 3. Arrange Clips on the Timeline Step 4. Apply the Split Screen Effect Step 5. Adjust Layout and Preview Step 6. Add Final Touches Step 7. Export Your Split Screen Video Pro Tips for Stunning Split Screen Videos Final ThoughtsAdvertisement
Related Articles
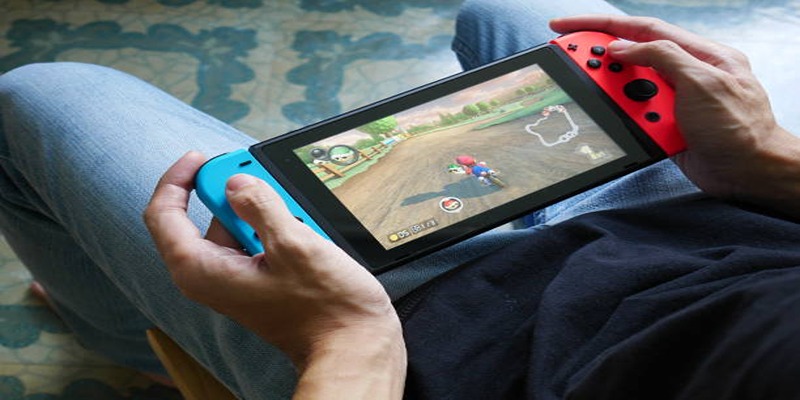
Top Ways to Record Gameplay on Nintendo Switch Without a Capture Card
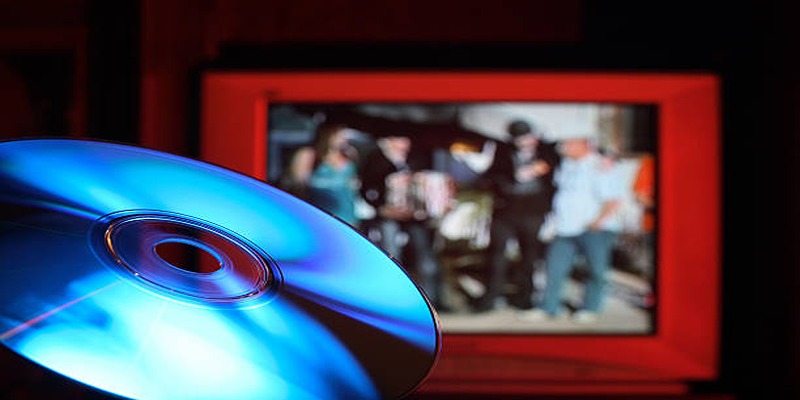
Step-by-Step Guide to Recording HD Videos to DVD for Big Screen Viewing
Step-by-Step Guide to Recording Movie DVDs or Music DVDs on Your PC
Crop Videos Free with Best Video Croppers on Windows

Top Tools and Tips for Making Multi-Screen Videos on Windows and Mac

Best AI Tools for Copywriting and Content Creation in 2025

Top Methods to Combine Multiple Videos into One Screen on Android
A Step-by-Step Guide to Creating a Split Screen Video with Movavi

Top Software and Techniques for High-Definition VR Game Recording

Top 6 AI Voice Generators You Need to Know About

Top 8 Accounting Software Tools for Self-Employed Professionals