 knacksnews
Step-by-Step Guide to Recording Movie DVDs or Music DVDs on Your PC
Advertisement
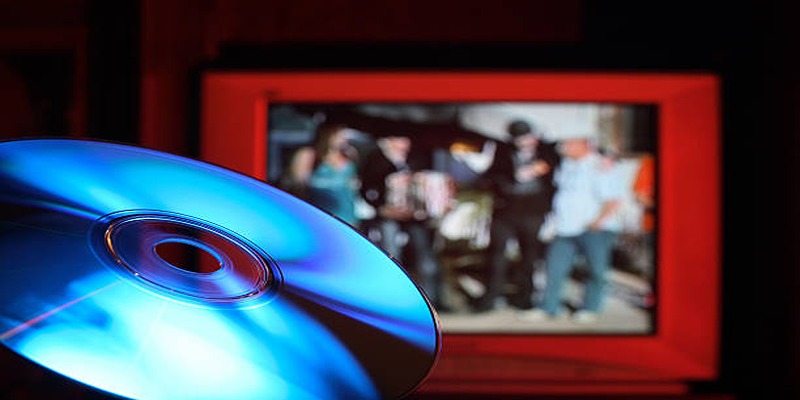
Have you ever wanted to back up your favorite movie or music DVDs on your PC for safekeeping or convenient access? While streaming platforms dominate today, DVDs are still a treasure trove of content that can’t always be found online. By creating a digital copy of your DVDs, you can protect them from physical wear and tear and enjoy them whenever you want, right from your PC.
Is It Legal to Copy DVDs?

Copying DVDs for personal use, such as creating backups of movies or albums you've purchased, falls within fair use in many countries. However, distributing or sharing these copies is prohibited under copyright laws. Always research the regulations in your country or region before proceeding.
Tools You’ll Need to Get Started
To begin recording DVDs on your PC, you’ll need some basic tools and software. Here's what you should prepare first:
1. A Computer with a DVD Drive
Ensure your computer has a functional DVD drive. If your PC lacks one, consider purchasing an external DVD drive, which connects via USB and works seamlessly with modern setups.
2. Blank Storage Space on Your Hard Drive
DVDs usually require anywhere between 4.7GB (single-layer) to 8.5GB (dual-layer) of storage space. Before you begin, check if your PC has enough free disk space to accommodate the files.
3. DVD Ripping Software
DVD ripping software is essential for converting DVD content into a playable digital format, such as MP4 or MP3. Popular options include:
- HandBrake (Free and Open-Source): Great for converting movie DVDs to MP4 format.
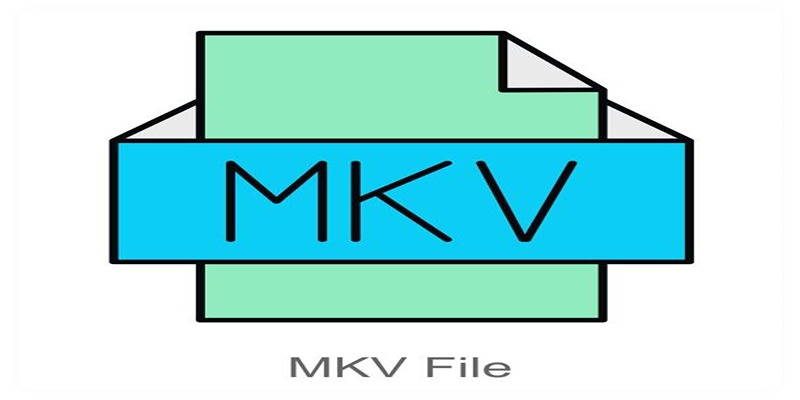
- MakeMKV (Free Trial): Ideal for unencrypted DVDs or transforming DVDs into MKV files with high-quality audio and video.
- DVD Audio Extractor (Paid): Designed for users who specifically want to rip music from DVDs.
4. Stable Power Source
Ripping DVDs can take from 15 minutes to an hour, depending on the DVD size and your PC’s processing power. Ensure your PC stays powered during the process to avoid interruptions.
How to Record DVDs on Your PC
Follow these simple steps to back up your DVDs:
Step 1: Install the DVD Ripping Software
Download and install your preferred DVD ripping software. During installation, pay attention to prompts and ensure all necessary plugins (like codecs) are also installed.
- For HandBrake, download the appropriate version for your operating system (Windows, macOS, or Linux).
- If you're a music enthusiast, opt for DVD Audio Extractor for sound-focused extraction.
Step 2: Insert the DVD into Your PC
Insert the DVD into your computer’s DVD drive. Open the ripping software, which should automatically detect the disc.
Step 3: Preview and Select Content to Rip
Modern ripping tools allow you to preview the DVD content. You can select specific files or chapters to copy rather than ripping the entire disc. For example:
- Movies: Select the main title (usually the largest file) and remove bonus features or trailers if not needed.
- Music DVDs: Choose specific tracks or chapters.
Step 4: Choose an Output Format and Settings
Decide on the output format and quality for your ripped files. Here are some common options:
Movies:
- MP4 (Highly compatible with all devices)
- MKV (Retains higher quality but takes up more space)
Music:
- MP3 (Popular for audio-only)
- FLAC (Lossless quality, ideal for audiophiles)
Adjust encoder settings to balance file size and quality. Higher resolution or bitrate produces better quality but creates larger files.
Recommended Settings for Movies:
- Video Codec: H.264 or H.265 (smaller file sizes, excellent quality)
- Resolution: Keep the resolution as close to the DVD's original quality (e.g., 720x480 for standard DVDs).
Recommended Settings for Music:
- Bitrate for MP3 Files: Aim for 256kbps or higher.
- Sample Rate for FLAC Files: Choose 44.1kHz for excellent audio fidelity.
Step 5: Start the Ripping Process
Click the “Start” button to begin the ripping process. Depending on the size of the DVD and PC hardware, this step might take a while. Make sure your PC remains undisturbed during this process.
Once completed, your ripped file will be saved in your chosen directory.
Step 6: Organize Your Files
To keep things organized, rename the file to include specific details like the movie title, album name, or release date. Place your files in dedicated folders for easy access later.
Troubleshooting Common Issues

Even with great software and preparation, things can sometimes go off track. Here’s how to resolve common challenges:
- Error Reading DVD: Check your physical DVD for scratches or dust. Clean it gently before re-inserting.
- Audio or Video Out of Sync: This occurs when the ripping settings don’t align with the DVD’s encoding. Try using presets for compatibility.
- Slow Ripping Speed: Ensure other programs aren’t running, as they may slow down the ripping software.
Actionable Tips to Enhance Your Experience
- Store Copies Securely: Once you’ve ripped your DVDs, save a backup on cloud storage platforms like Google Drive, Dropbox, or OneDrive.
- Upgrade Your Viewing: Use media players like VLC to enjoy improved playback of your ripped files.
- Convert for Portable Devices: Use the software’s device-specific presets to create versions optimized for smartphones, tablets, or streaming.
- Include Metadata: Some ripping software allows you to add metadata such as title, year, and genre to your files for easier sorting and searching.
- Consider File Formats: Consider which file format works best for your needs - MP4 is compatible with most devices while MKV offers higher quality but may not be supported by all devices.
Conclusion
Ripping a DVD effectively requires careful consideration of quality, compatibility, and storage needs. By following the steps outlined above, you can ensure your media is preserved in an optimal format for your devices and preferences. Always remember to use ripping software responsibly and adhere to copyright laws in your region. With the right approach, you can build a convenient and versatile digital media library tailored to your entertainment needs.
On this page
Is It Legal to Copy DVDs? Tools You’ll Need to Get Started 1. A Computer with a DVD Drive 2. Blank Storage Space on Your Hard Drive 3. DVD Ripping Software 4. Stable Power Source How to Record DVDs on Your PC Step 1: Install the DVD Ripping Software Step 2: Insert the DVD into Your PC Step 3: Preview and Select Content to Rip Step 4: Choose an Output Format and Settings Movies: Music: Recommended Settings for Movies: Recommended Settings for Music: Step 5: Start the Ripping Process Step 6: Organize Your Files Troubleshooting Common Issues Actionable Tips to Enhance Your Experience ConclusionAdvertisement
Related Articles

Top Ways to Record Gameplay on Nintendo Switch Without a Capture Card

How to Convert MP4 Files to FLV Easily: A Comprehensive Guide

How to Make Viral YouTube and TikTok Reaction Videos: Step-by-Step Guide

Step-by-Step TikTok Guide: Create a Video Collage Like a Pro
Step-by-Step Guide to Recording HD Videos to DVD for Big Screen Viewing

Top Methods to Combine Multiple Videos into One Screen on Android

How to Design Stunning Photo Collages with iPhoto on Mac and iPhone

The Best AI Scheduling Assistants for Effortless Planning

Best AI Tools for Copywriting and Content Creation in 2025

Top 3 RSS Readers for Mac to Simplify Your News Feed
How to Convert and Play MKV Files on Your iPad in 2 Simple Steps