 knacksnews
Step-by-Step Guide to Recording HD Videos to DVD for Big Screen Viewing
Advertisement
Recording your HD videos to a DVD for the ultimate big-screen viewing experience might sound a little old-school, but it’s still one of the best ways to preserve your precious moments or share polished content with a personal touch. Whether you're saving family memories, showcasing your creative projects, or simply rediscovering the joy of DVDs, this guide walks you through every step.
Why Record HD Videos to a DVD?
- Universal Playback: DVDs work on virtually all DVD players, computers with disc drives, and even some gaming consoles.
- Longevity: DVDs are durable, making them a great option for archiving significant events like weddings or birthdays.
- High-Quality Output: When done correctly, DVDs can maintain excellent HD quality for a crystal-clear viewing experience.
Step 1: Choose the Right Equipment and Tools
It’s essential to gather the right equipment and software to ensure a smooth workflow. Here's what you'll need:
Necessary Equipment:
- A Computer with a DVD Drive: Many modern laptops no longer include built-in disc drives, so you may need an external DVD drive.
- Blank DVD Discs: Choose the right type based on your purpose:
- DVD-R/DVD+R: Writable discs for one-time use.
- DVD-RW/DVD+RW: Rewritable discs, ideal for experimenting or temporary data storage.
- Reliable Software for DVD Authoring: You'll need software to burn your HD videos to the disc in a proper format (more on this below).
Recommended Software Options:
- HandBrake (free) - For video conversion and compression.
- WinX DVD Author (free) - An easy-to-use program to create DVDs with menus.
- Roxio Creator or Nero Platinum (paid) - Offers professional-grade DVD authoring tools.
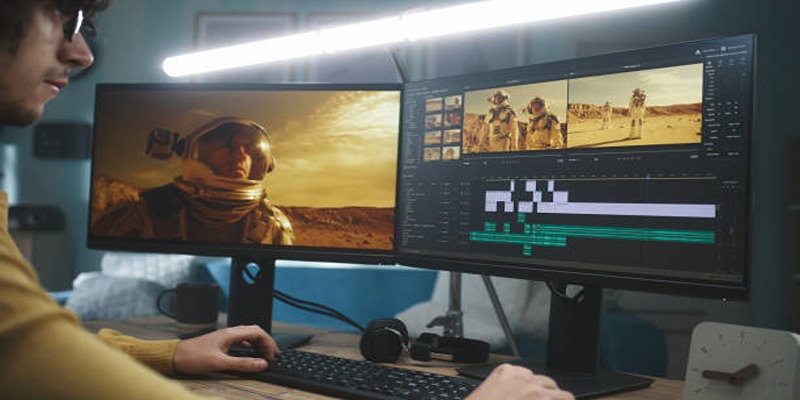
Step 2: Prepare Your HD Videos
Before burning your videos to a DVD, you must ensure they are optimized for playback. This involves a few key tasks:
1. Edit Your Videos
To make your video suitable for big-screen viewing:
- Trim unnecessary footage
- Add titles or effects, and
- Adjust the video brightness, contrast, and saturation.
2. Convert to a DVD-Supported Format
Most DVDs support MPEG-2 or AVI formats. If your video isn’t already in this format, use a converter like HandBrake to reformat your file without compromising quality.
3. Check File Size
A standard DVD holds approximately 4.7 GB of data, while a dual-layer DVD can hold up to 8.5 GB. Make sure your video file fits within these limits.
Step 3: Select the DVD Authoring Software
DVD authoring is where the magic happens. This process involves creating the structure and layout of your DVD, including menus, chapters, and subtitles.
Popular DVD Authoring Software:
- WinX DVD Author (free): Offer templates for menus and buttons.
- Roxio Creator (paid): Provides advanced editing features for professional DVD production.
- DVDStyler (free): Allows you to create personalized menus and unique DVD designs.
How to Use DVD Authoring Software:
- Import your HD video(s) into the software.
- Arrange your files in the desired order (if you’re burning multiple videos).
- Add optional elements like:
- Chapter markers (great for longer videos).
- Custom menus with background music or images.
- Preview your project to ensure everything looks and functions correctly.
Ensure that your settings are configured to burn in an NTSC or PAL format, depending on your region (NTSC for North America, PAL for Europe and Asia).
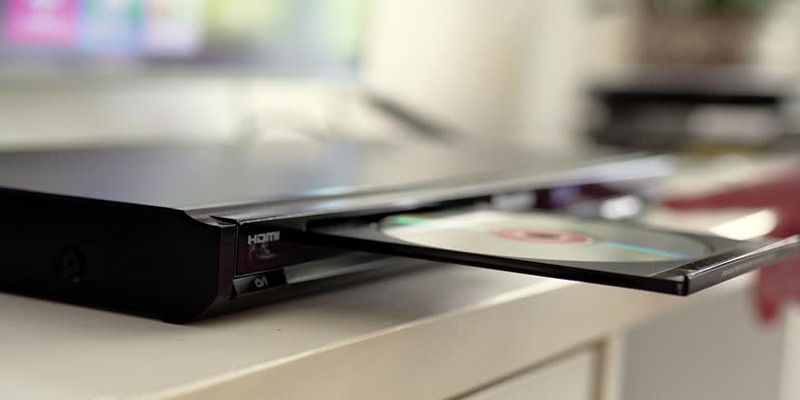
Step 4: Burn Videos to the DVD
Now that your project is ready, it’s time to burn your HD video to the disc!
Recommended Steps:
- Insert a blank DVD into your computer's DVD drive.
- Open your DVD authoring HandBrake software and select the “Burn” or “Write to Disc” option.
- Adjust burn settings:
- Choose the write speed (lower speeds like 4x or 8x are often safer for better-quality burns).
- Double-check the video format and quality settings.
- Start the burning process and wait for the software to complete.
Common Mistakes to Avoid:
- Using low-quality discs: Stick to reliable brands like Verbatim or Sony.
- Burning at high speed: A faster burn speed may create playback issues.
- Skipping the quality check: Always test your DVD before sharing it!
Step 5: Test and Enjoy Your DVD
After your DVD is burned, it’s time to test it out. Here’s how:
- Insert the DVD into a DVD player or computer and check its functionality.
- Play through the entire video to ensure there are no skipped frames or glitches.
- If you’ve created menus, test each button to make sure it navigates properly.
Troubleshooting Tips:
- Playback issues: If your DVD is experiencing playback issues, try burning it at a slower speed.
- Menu navigation problems: Double check that all menu buttons are linked to the correct content.
- Skipping or glitching video: This could be caused by corrupt source files. Try re-importing them and re-burning the DVD.
- Disc compatibility: Some older DVD players may have trouble playing burned DVDs. Always test on multiple devices before sharing with others.
Step 6: Package and Share Your DVD
Now that your DVD is ready, why not add a little flair? Customize your DVD packaging with:
- Printed Labels: Use a DVD label printer or printable discs.
- Cases: Invest in sleek or themed cases with cover art.
- Gift Wrapping: Perfect for sharing DVDs as gifts!
Finally, share your DVD with friends and family or binge-watch your cherished memories on the big screen.
Conclusion
Creating your own DVDs from HD videos is a fulfilling process that allows you to preserve precious memories or showcase your creativity in a timeless format. By following this step-by-step guide, you’ve learned how to prepare your videos, choose the right software, and craft a polished, professional-quality DVD. Whether you’re creating a personal archive or a thoughtful gift, the possibilities are endless. With a little effort and creativity, you can bring your HD videos off your devices and onto the big screen for everyone to enjoy.
On this page
Why Record HD Videos to a DVD? Step 1: Choose the Right Equipment and Tools Necessary Equipment: Recommended Software Options: Step 2: Prepare Your HD Videos 1. Edit Your Videos 2. Convert to a DVD-Supported Format 3. Check File Size Step 3: Select the DVD Authoring Software Popular DVD Authoring Software: How to Use DVD Authoring Software: Step 4: Burn Videos to the DVD Recommended Steps: Common Mistakes to Avoid: Step 5: Test and Enjoy Your DVD Troubleshooting Tips: Step 6: Package and Share Your DVD ConclusionAdvertisement
Related Articles

Best AI Tools for Copywriting and Content Creation in 2025

The Best AI Scheduling Assistants for Effortless Planning

Top Tools and Tips for Making Multi-Screen Videos on Windows and Mac

Step-by-Step Guide to Recording Movie DVDs or Music DVDs on Your PC

5 Reliable Dropbox Alternatives for Seamless Collaboration
How to Convert and Play MKV Files on Your iPad in 2 Simple Steps

Top 8 Accounting Software Tools for Self-Employed Professionals
Crop Videos Free with Best Video Croppers on Windows
A Guide to Putting Two Videos Side by Side in Adobe Premiere Pro

Top 6 AI Voice Generators You Need to Know About

Top Ways to Record Gameplay on Nintendo Switch Without a Capture Card