How to Make Viral YouTube and TikTok Reaction Videos: Step-by-Step Guide
Advertisement
Reaction videos have become one of the most entertaining and shareable forms of content on YouTube and TikTok. Whether it’s someone reacting to a jaw-dropping new music video, a hilariously bad movie scene, or the latest TikTok trend, these videos thrive on relatability and connection. This guide will walk you through every step of the process—from planning to post-production—to help you create reaction videos that could go viral.
Why Reaction Videos Are Trending

At their core, reaction videos satisfy key human desires. People love to see authentic emotional responses to the same content they’re consuming. They also enjoy validating their own feelings by seeing others react similarly. For creators, reaction videos are an excellent way to build a genuine connection with their audience.
Platforms like YouTube and TikTok amplify reaction content because it sparks engagement. Comments sections fill with debates about the content, requests for future reactions, and outright laughter.
Step 1: Nail Your Niche
The first question to ask yourself before starting a reaction channel is "Who is my audience?". Choosing a specific niche is critical for success. Broad topics won’t help you stand out, so think carefully about your ideal viewers and their interests.
Popular Reaction Video Niches:
- Music Reactions: Reviewing trending songs, albums, or even underrated artists.
- Movie & TV Shows: Breaking down scenes or whole episodes.
- TikTok Trends: Reacting to the latest viral dances or challenges.
- Funny Clips or Memes: Adding your commentary to viral internet humor.
- Educational Content: Reacting to historical footage, documentaries, or viral “life hack” videos.
The more targeted your niche, the easier it is to build a loyal audience. For example, if you focus on reacting to anime soundtracks, you’ll attract anime fans exclusively.
Step 2: Prepare Your Content
Creating a great reaction video starts before you hit “record.” You’ll need to choose the right content to react to and set up a workflow to ensure minimal disruptions during filming.
Choosing Content to React To:
- Pick fresh, trending topics that people are already searching for (e.g., a new Marvel trailer)
- Identify content with strong emotional triggers, such as inspirational videos, shocking reveals, or comedic fails.
- Make sure the content can be legally used. Use videos labeled as free-to-use, or request permission from smaller creators.
Tools like Social Blade, YouTube Trending, or TikTok’s Discover tab help identify currently viral content.
Preparing Your Workspace:
- Ensure your lighting is clear and consistent. Ring lights or soft boxes are perfect for reaction videos.
- Use a high-quality webcam or DSLR camera to capture genuine facial expressions.
- Invest in good audio equipment. Viewers want to hear both your commentary and the original content clearly.
- Familiarize yourself with screen recording software like OBS Studio or Streamlabs to record the visual content alongside your reaction.
How to Use OBS Studio for Reaction Videos
OBS Studio (Open Broadcaster Software) is a popular free and open-source software for screen recording and live streaming. It offers a variety of features that make it perfect for creating reaction videos.
Setting up OBS Studio
- Download and install OBS Studio from the official website.
- Open OBS Studio and go to the Settings menu to configure your preferences.
- Add a Display Capture source to record your screen and a Video Capture Device source to include your webcam.
- Adjust the layout to ensure both the content and your reaction are visible.
- Start recording by clicking the Start Recording button.
Step 3: Master Your On-Camera Reaction
Your charisma and energy are what will keep viewers glued to your reaction videos. Think of your role as an exaggerated version of yourself. Reaction videos are not just about watching the content but also using your personality to enhance the viewing experience.
Tips for Engaging Reactions:
- Be Authentic - The audience can tell if your reaction is fake or forced. Don’t be afraid to show real emotions, whether it’s laughter, shock, or sadness.
- Stay Expressive - Use your voice and facial expressions to amplify your reaction, especially during dramatic or funny moments.
- Relate to the Content - Comment on moments that stood out for you personally (e.g., “This reminds me of...”).
- Invite Interaction - Ask questions directly to your audience (e.g., “Did you expect that? Let me know in the comments!”).
Speak directly to your audience occasionally, calling them “you.” It makes them feel like they’re part of the video. Remember, your video isn’t just about what you’re watching; it’s about your personality shining through. Viewers need to feel like they’re hanging out with a fun or interesting friend.
Step 4: Edit Like a Pro
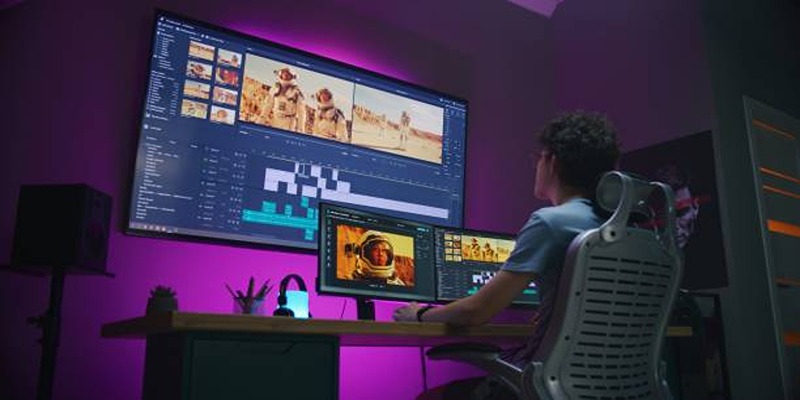
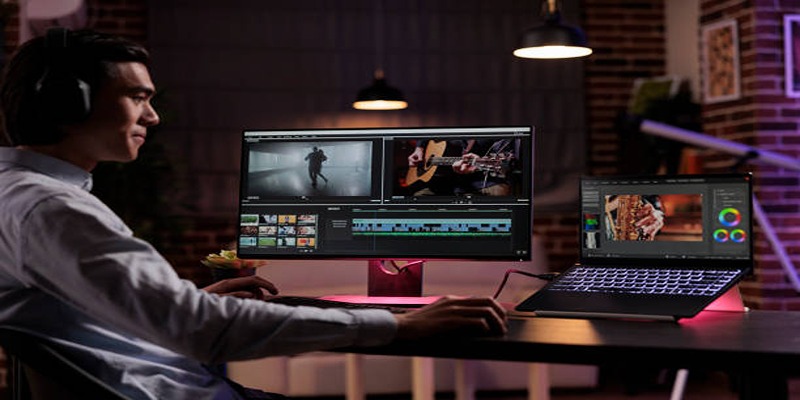
The magic of reaction videos often happens in post-production. Great editing can elevate your content, make it punchier, and emphasize comedic or emotional moments.
Key Editing Techniques:
- Split-Screen Layout - Show both your face and the content you’re reacting to side by side.
- Cut Unnecessary Pauses - Trim long silences or reactions that drag on too long.
- Use Zoom and Pans - Highlight your facial expressions during crucial moments to emphasize your reaction.
- Add Text or Emojis - Integrate captions, funny text, or emojis to make your commentary even more engaging.
- Sync Audio Perfectly - Ensure the sound of the content you're reacting to aligns with your natural reactions seamlessly.
Video editing tools like Adobe Premiere Pro, Final Cut Pro, or even DaVinci Resolve are excellent for this purpose. For creators new to editing, CapCut or iMovie are simpler alternatives.
Step 5: Share, Optimize, and Repeat
Once your video is ready, it’s time to share it with the world. A well-optimized upload strategy can greatly improve your chances of going viral.
YouTube and TikTok Optimization:
- Create a Catchy Title - Use emotion and curiosity to draw clicks (e.g., “I Can’t Believe This TikTok Dance Exists!”).
- Write an SEO-Friendly Description - Include keywords like “reaction video,” the content’s title, and words relevant to your niche.
- Use Tags & Hashtags - On YouTube, use tools like VidIQ to find trending tags. For TikTok, stick with highly relevant hashtags like #ReactionTime or #TikTokReaction.
- Select Engaging Thumbnails - For YouTube videos, create high-quality thumbnails with bold, oversized text and eye-popping colors.
- Post Consistently - Platforms prioritize content from consistent creators. Pick a schedule and stick with it.
Finally, engage with your viewers! Reply to comments, encourage subscriptions, and ask viewers what they’d like you to react to next.
Step 6: Use Analytics and Adapt

Pay close attention to how your reaction videos perform. Use YouTube Studio and TikTok Analytics to collect feedback. Track metrics like watch time, engagement rates, and audience viewership patterns.
If a certain type of reaction resonates more, lean into that while experimenting with new styles. Over time, your audience will tell you what they love most about your content.
Conclusion
Creating viral reaction videos isn’t just about jumping on trends; it’s about letting your personality resonate with your audience while delivering content that feels authentic and entertaining. By following this guide, you’ll be well on your way to building a devoted fanbase and creating reactions that people want to share. Now, get your camera rolling and show the world your incredible reactions!
On this page
Why Reaction Videos Are Trending Step 1: Nail Your Niche Popular Reaction Video Niches: Step 2: Prepare Your Content Choosing Content to React To: Preparing Your Workspace: How to Use OBS Studio for Reaction Videos Setting up OBS Studio Step 3: Master Your On-Camera Reaction Tips for Engaging Reactions: Step 4: Edit Like a Pro Key Editing Techniques: Step 5: Share, Optimize, and Repeat YouTube and TikTok Optimization: Step 6: Use Analytics and Adapt ConclusionAdvertisement
Related Articles

Top 3 RSS Readers for Mac to Simplify Your News Feed

How to Make Viral YouTube and TikTok Reaction Videos: Step-by-Step Guide

A Guide to Putting Two Videos Side by Side in Adobe Premiere Pro

Top Methods to Combine Multiple Videos into One Screen on Android

Step-by-Step Guide: 4 Ways to Put Two Videos Side by Side

Top Ways to Record Gameplay on Nintendo Switch Without a Capture Card

How to Convert and Play MKV Files on Your iPad in 2 Simple Steps

Best AI Tools for Copywriting and Content Creation in 2025

A Step-by-Step Guide to Creating a Split Screen Video with Movavi

Top 5 Side-by-Side Video Editing Apps for iOS and Android

The Best AI Scheduling Assistants for Effortless Planning

 knacksnews