 knacksnews
Top 2 Free Methods to Create Stunning Picture-in-Picture Videos
Advertisement
Video content is king, and picture-in-picture (PiP) videos are the perfect way to take your storytelling to the next level. Whether you're creating tutorials, product demos, or engaging social media content, PiP allows you to show multiple perspectives simultaneously, helping viewers easily follow along. This guide reveals the top 2 free methods to create stunning PiP videos, complete with step-by-step instructions.
What is Picture-in-Picture Video?

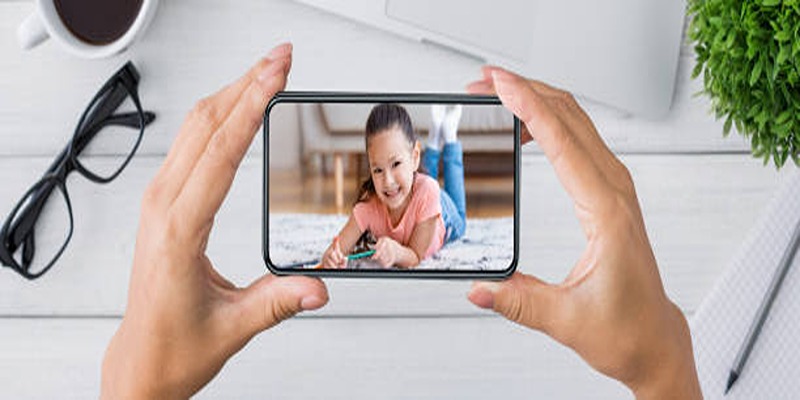
Picture-in-picture is a video editing effect where one smaller video plays inside a larger main video frame. It’s commonly used for tutorials, video reactions, gaming streams, and webinars. The smaller inset video can show a webcam feed, additional footage, or any secondary video content, enhancing the viewer experience by adding context and interactivity.
Some common use cases for PiP include:
- Online educators displaying their video feed inside a PowerPoint lesson.
- Gamers streaming gameplay with commentary in the corner of the screen.
- YouTubers reacting to a video while keeping their face visible.
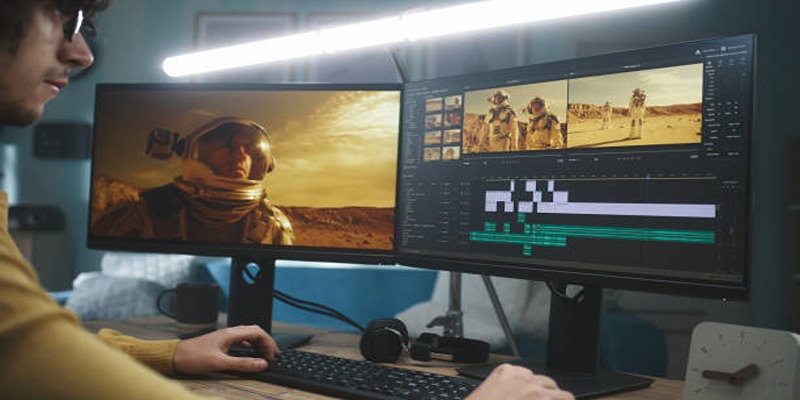
Method 1: Using CapCut (Free Video Editing App for Mobile and Desktop)
CapCut is a 100% free video editing app available for both mobile devices and desktop users. Known for its intuitive design and powerful editing features, CapCut is a favorite among content creators worldwide for tasks like picture-in-picture editing.
Follow these steps to create stunning PiP videos in minutes using CapCut on your smartphone or desktop:
1. Download and Install CapCut
- Head to the CapCut official website or download the app from your device’s app store.
- Launch the app and sign up (if you haven’t already).
2. Start a New Project
- Tap "New Project" to import your main (background) video. This will serve as the larger video frame.
- Trim your video if necessary, ensuring the timeline is manageable for editing.
3. Import the Secondary (PiP) Video
- Tap "Overlay" in the menu.
- Upload the secondary video or image that will appear as the inset.
4. Position and Resize the PiP
- Drag the inset video to adjust its position and size on the screen. You can place it in the corner or any area that suits your video style.
- Use the "Mask" or "Crop" tools to adjust the shape of your inset video (e.g., circular, rectangular, etc.) if needed.
5. Adjust Details (Optional)
- Apply background blur or add shadows to make the PiP blend seamlessly with your main footage.
- Use animated transitions to introduce the PiP effect dynamically.
6. Save and Export
Tap the export button, select your desired video resolution (e.g., 1080p), and save it to your device.
CapCut simplifies the PiP creation process without requiring technical know-how. It’s perfect for beginners who need a user-friendly video editor packed with professional-grade tools.
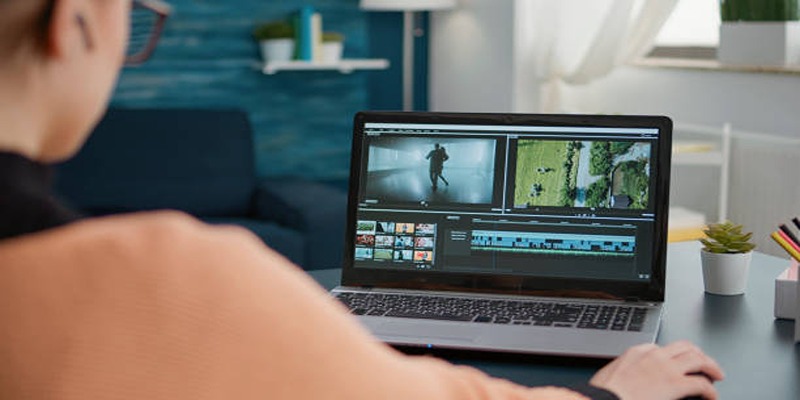
Method 2: Using Shotcut (Free Video Editing Software for Desktop)
For more advanced editing on desktop, Shotcut is an open-source video editing software that offers powerful PiP capabilities. Shotcut is completely free and supports Windows, Mac, and Linux, making it an accessible option for creators at any experience level.
Follow these steps to create stunning PiP videos in minutes using Shotcut:
1. Download and Install Shotcut
- Visit the Shotcut website and download the software for your operating system.
- Open Shotcut and choose "Start a New Project" to begin.
2. Import Your Main Footage
- Drag your main video file into the Shotcut timeline.
- You’ll see your background video in the main editing window.
3. Add the PiP Video to a New Track
- Create a new video track by clicking the "+" button above the timeline.
- Drag your inset video into the new track. This automatically layers the secondary video over your main clip.
4. Adjust and Resize the PiP Video
- Select the inset video track, and go to the "Filters" panel.
- Add a "Size and Position" filter to resize your inset video and position it anywhere on the screen.
- Drag the edges of the video to crop and make it fit your vision.
5. Enhance the PiP Video
- You can use other filters found in Shotcut (e.g., “Opacity” or “Blur”) to stylize and integrate the PiP video more effectively.
- Add borders, shadows, or custom animations for a professional touch.
6. Preview, Save, and Export
- Use the preview option to ensure everything looks perfect.
- Once satisfied, click "Export," choose the resolution settings, and render your PiP masterpiece.
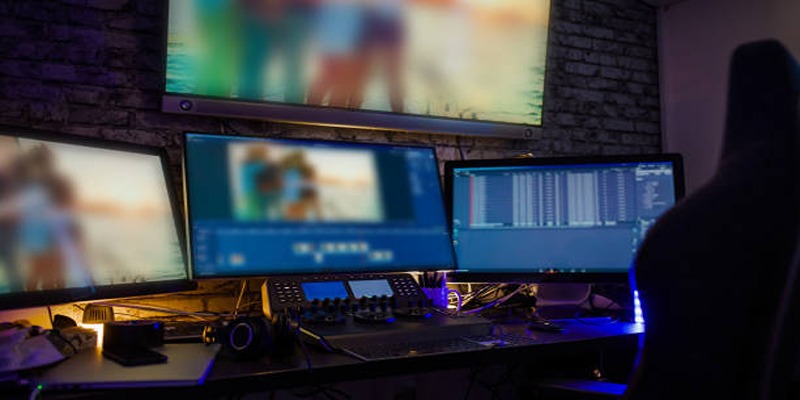
Shotcut offers unmatched flexibility for PiP creation, making it a reliable choice for content creators who want to fine-tune their edits.
Tips for Stunning Picture-in-Picture Videos
- Match Color Grading: Ensure the lighting and colors of your PiP video match your main footage for a seamless visual experience.
- Maintain Aspect Ratios: Use the same aspect ratio for your videos to prevent cropping or distortion.
- Engage Viewers: Add animated text or motion graphics to highlight key points alongside your PiP effect. Tools like Canva can complement CapCut and Shotcut for such enhancements.
- Test Audio Balance: If both videos have audio, adjust the volume levels to ensure clarity. You can mute the PiP video if only the main video’s audio is relevant.
Final Thoughts
Free tools like CapCut and Shotcut make professional video editing accessible to everyone. Whether you're a budding content creator, small business owner, or social media influencer, these platforms eliminate the need for expensive software or subscriptions, letting you focus on creativity instead of costs. By now, you’re equipped to create polished picture-in-picture videos using either CapCut or Shotcut. These free tools empower you to elevate your content like a pro without spending a dime.
On this page
What is Picture-in-Picture Video? Method 1: Using CapCut (Free Video Editing App for Mobile and Desktop) 1. Download and Install CapCut 2. Start a New Project 3. Import the Secondary (PiP) Video 4. Position and Resize the PiP 5. Adjust Details (Optional) 6. Save and Export Method 2: Using Shotcut (Free Video Editing Software for Desktop) 1. Download and Install Shotcut 2. Import Your Main Footage 3. Add the PiP Video to a New Track 4. Adjust and Resize the PiP Video 5. Enhance the PiP Video 6. Preview, Save, and Export Tips for Stunning Picture-in-Picture Videos Final ThoughtsAdvertisement
Related Articles

Top Tools and Tips for Making Multi-Screen Videos on Windows and Mac
Step-by-Step Guide: 4 Ways to Put Two Videos Side by Side
Step-by-Step Guide to Recording Movie DVDs or Music DVDs on Your PC
How to Convert MP4 Files to FLV Easily: A Comprehensive Guide

Top Methods to Record Overwatch Highlights on PC and Consoles

Top 6 AI Voice Generators You Need to Know About

How to Make Viral YouTube and TikTok Reaction Videos: Step-by-Step Guide

How to Effortlessly Create a Video Collage on Your iPhone

Revolutionize Your Photos with the Best AI Photo Editors

5 Reliable Dropbox Alternatives for Seamless Collaboration
Top Software and Techniques for High-Definition VR Game Recording